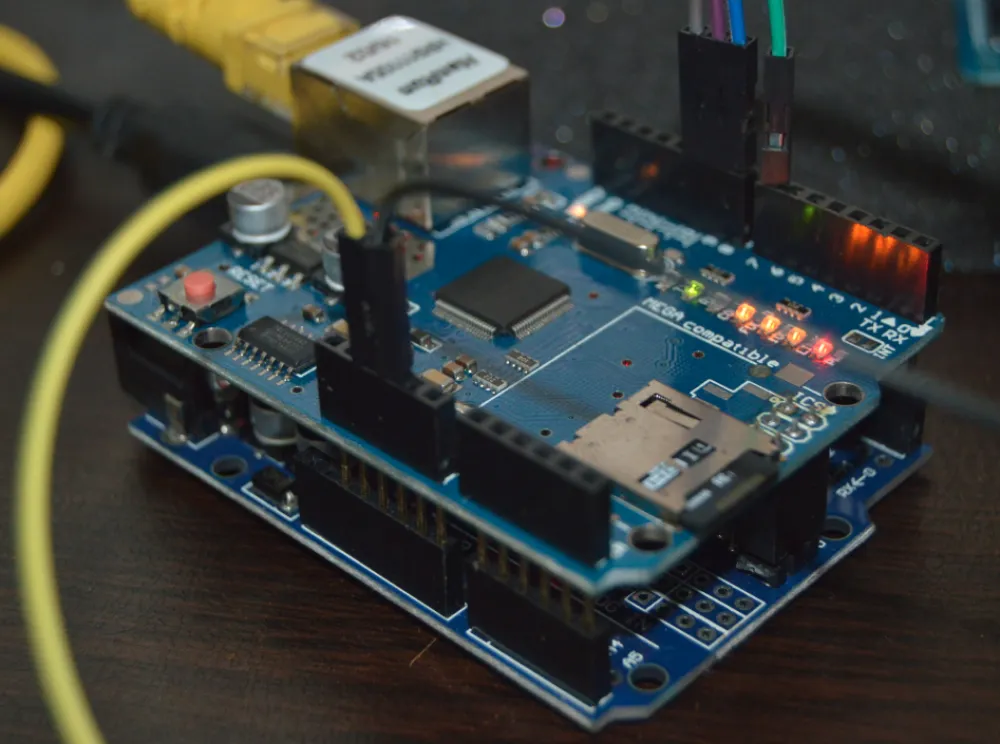
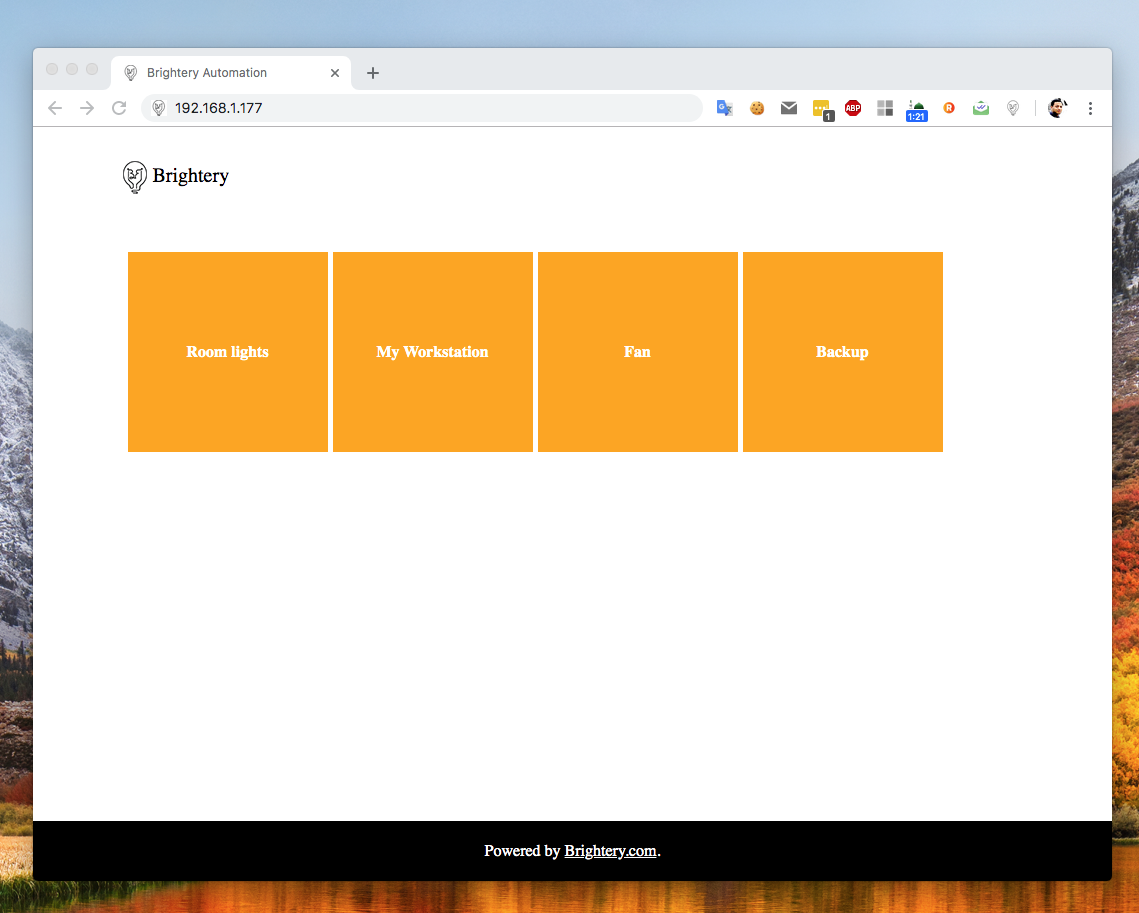
DIY home automation project to turn your appliances on or off via internet/wifi using any device (PC, Mobile, Tablet or any device have access to internet through web browser).
Technology used
- Bootstrap to keep our app responsive and accessable from any device
- Angularjs to quickly bind buttons status from Arduino web service (API)
- jQuery for bootstrap
- CSS3 keyframes feature for a beautiful loading event
Components
- Arduino uno rev3: it's the most used and documented board of the whole Arduino family. it's microcontroller board based on the ATmega328P. It has 14 digital input/output pins (of which 6 can be used as PWM outputs.
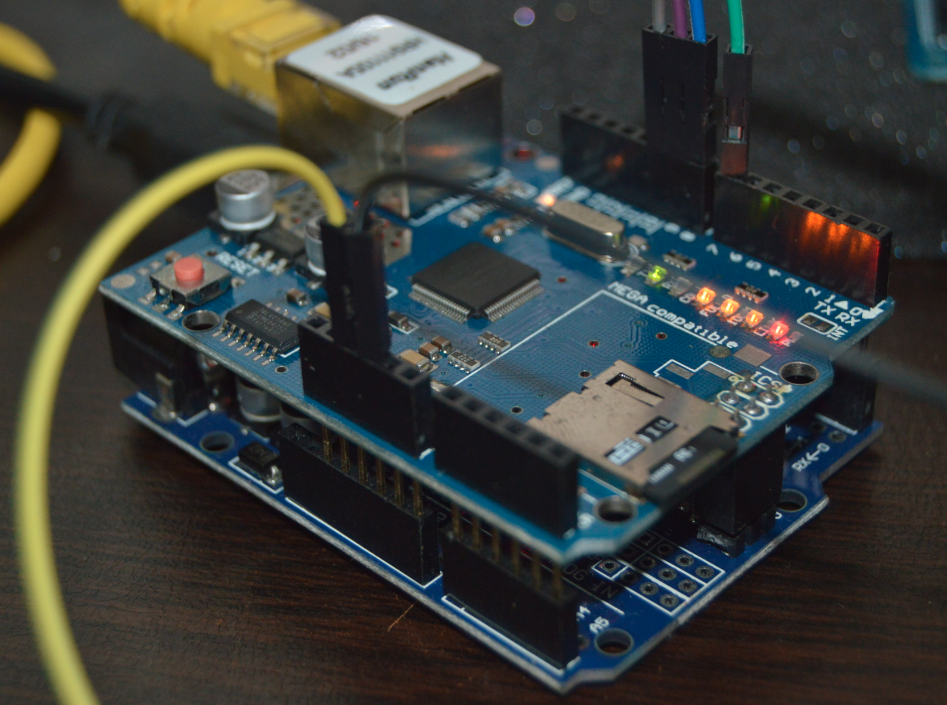
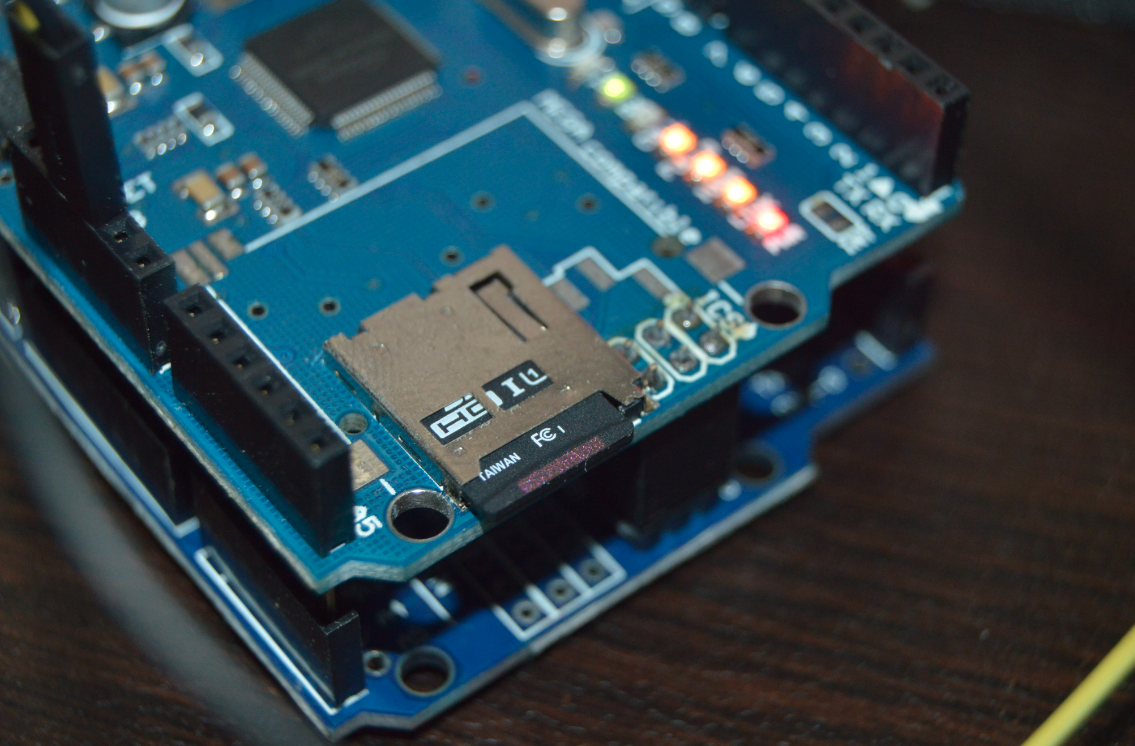
- Ethernet Shield with SD card support: allows an Arduino board to connect to the internet using the Ethernet library, also read and write an SD card using the SD library.
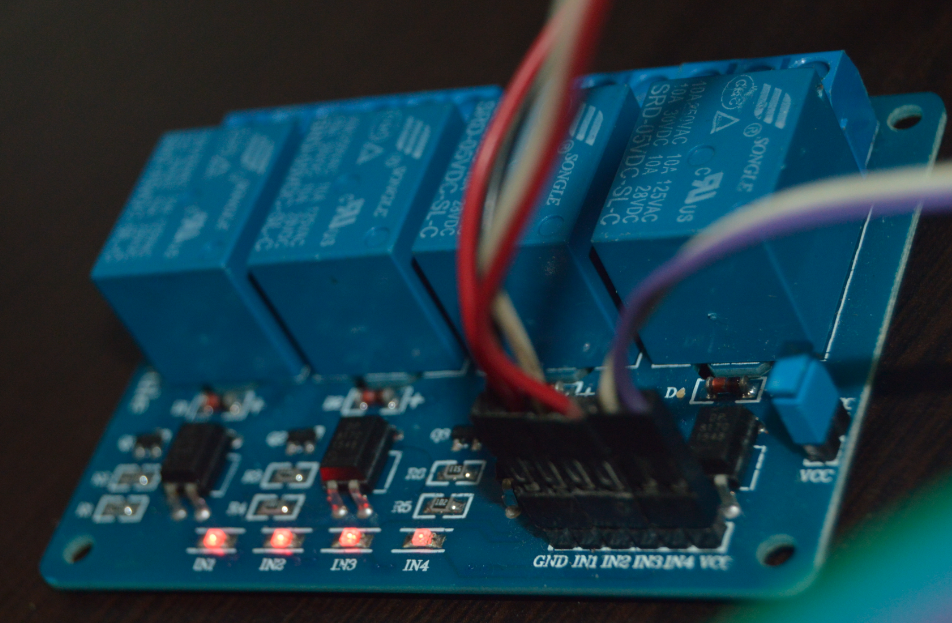
- 4 relays board: control your appliances using 2 states (NO and NC) normally closed circuit and normally opened circuit.
- SD card formatted in Fat16 or Fat32
- Jumber wires
How to use it
- Download the repository from Github
- Compile the code in Brightery_Automation.ino file and upload it to your Arduino Uno using Arduino IDE it's available for Windows, Mac and Linux operating systems.
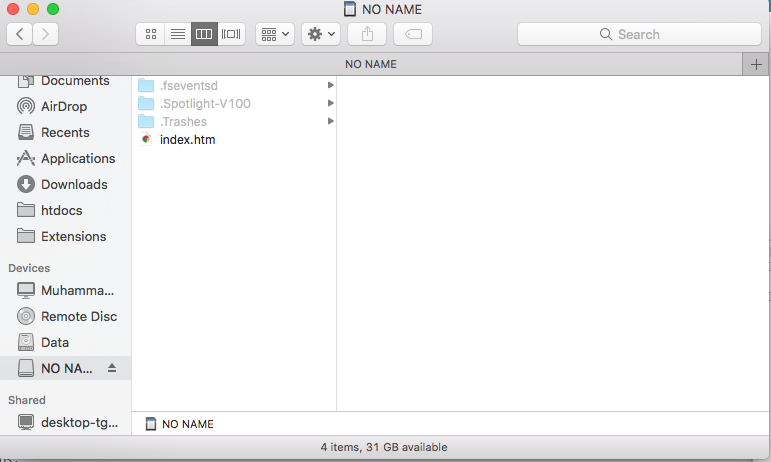
- copy the index.htm file to your SD card, you must format it to FAT16 or FAT32 file system, and put the index.htm on the SD card root.
- install the ethernet shield to the Arduino Uno like a puzzle, putting the 2 chips over and cheerfully check the pins on place cause it's easy to damage.
- wire the relay port 4 pins to the pins (5,6,7 and 8) and don't forgot to wire the 5v and GND of relays to the Arduino uno
Hi! Maybe yo can help me to send data from arduino to web page for data visualization? For example data from DHT11
Yes sure that's easy, you can open a ticket with the details and we will help you
Thanks
Hello, I tested this project and it works fine. But I have three relay boards I want to use for a a big project. Is it easy to update the index page and the Arduino code? Can you give me some guidance so I can work on it. Thanks.
Hello,
Yes you can easily update the index file, but for the other boards you will have additional Pins so you should add ِArduino shift register
I have three 8 relay boards that I want to program with it. Hope this makes it easier to understand.